How to Water Bath Can
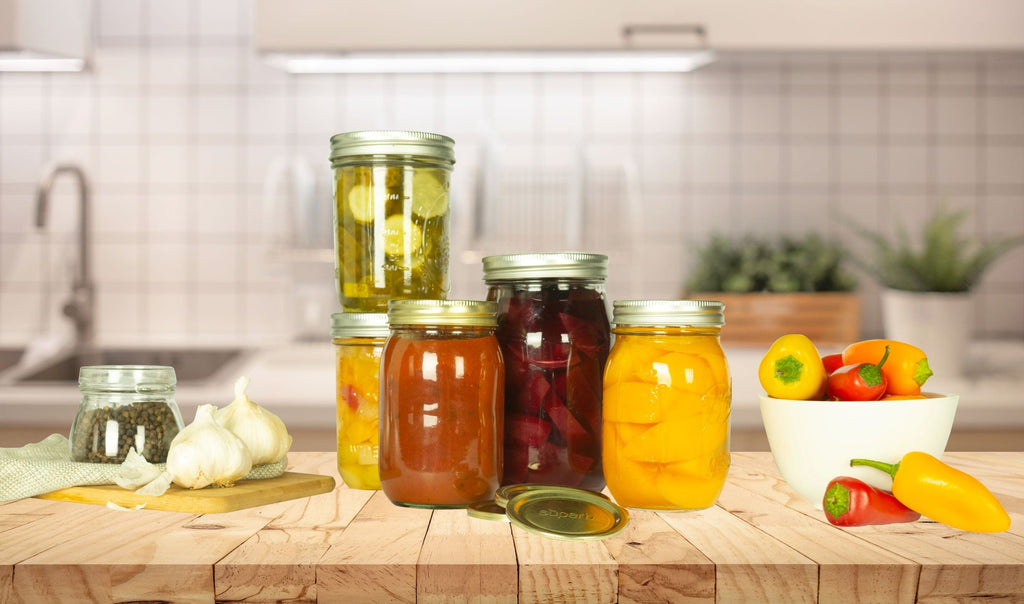
Immerse yourself in the charm of home canning with a water bath canner. Water Bath Canning is your golden ticket to long-lasting, homemade pickles, jams, and fruit juice. Get the canning process right and you'll have delicious preserves to enjoy year round!
Remember, water bath canning is is the preferred canning method for processing high acid foods only. This category covers most fruit preserves like jellies, jams, and fruits canned in syrup, and a range of pickles. Always opt for tested canning recipes from a dependable source like the National Center for Home Food Preservation. Low acid foods should be processed using pressure canning instead.
The Kit You Need
While you can effortlessly find "universal" canning kits (yes, we sell them), it's likely that you have some of the necessary equipment in your kitchen already. In this case, you only need to buy the remaining items, which could save you a few bucks.
The Essentials
- A tall, large canning pot
- A Canning rack for the pot
- Canning jars with canning lids and rings
- A ladle
- A canning funnel
- A timer
- A jar lifter or tongs
- A moist, clean towel or paper towel
Extra Handy Tools
Pro Tip - Who says you need a special water bath canner?
Save some real estate in your pantry by using your All American Pressure Canner for more than just pressure canning. Use the same pot for both water bath canning and pressure canning with one simple adjustment...
Transform your pressure canner into a boiling water bath canner in a blink! Just fill it up to 2 inches above your jar tops, switch out the canner lid with a universal lid that fits, and voila! You're all set to can your high acid foods, Kooi style! (aka on the cheap)
Getting Down to Business
To start, place a canning rack at the bottom of a tall pot. The aim is to elevate the jars off the pot's base, allowing evaporating water to escape and protecting the mason jars from rattling and potentially breaking.
Ensure that the water level in the pot is an inch or two above the tops of the jars you plan to process.
Turn up the heat. If raw-packing, let the water reach 140 F; if hot-packing, aim for 180 F. This can be done alongside food preparation.
Prepping your Canning Equipment
Before you start, check for chips or other flaws on all jar rims. Do not use any flawed jars for canning, and use only new lids. Rings, however, can be reused. If necessary, you can buy canning jars and lids HERE.
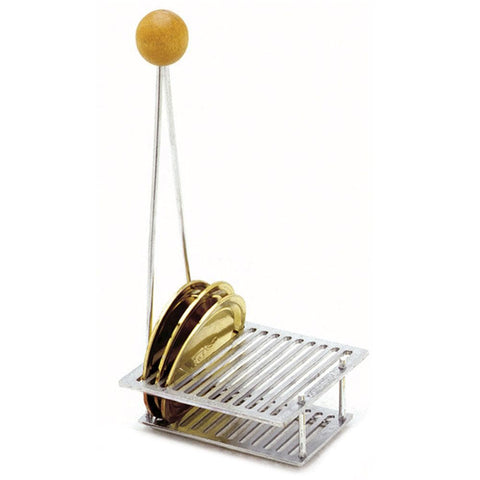
Depending on the recommendations of your jar and lid manufacturer, heat the jars in the water bath and lids in a separate pan of hot water. To keep your canning lids organized, use a lid caddy - it makes it WAY easier to fish those lids out of boiling water. Some lid brands such as Ball, Kerr, and Superb, no longer need to be boiled before use, as they now utilize a softer sealing compound. (For these brands, it is acceptable to wash jars and lids in hot soapy water.)
Fill the Jars
Remove your hot jars from the water bath canner, pouring out the hot water from the jars as you do so. In order to prevent damage to your countertops in this process, we'd recommend placing them on a cooling rack or on a Counter Mat.
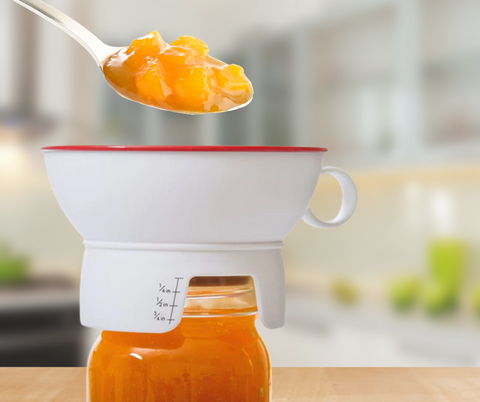
Quickly ladle your recipe into the canning jars using your handy canning funnel. As you are filling jars, leave an appropriate amount of headspace, generally between 1/4 inch and 1 inch. This will be specified in the recipe. Too much headspace will create improperly sealed jars or unsealed jars.
Use a clean spatula or bubble popper to stir and remove air bubbles. Trapped air bubbles will interfere with the jar creating a good vacuum seal when finished.
Wipe any food residue off the rims of the hot jars with a damp cloth for better lid and jar contact to ensure the hot jars seal properly.
Capping the Jars
Add your canning lids to the jars. The magnetic lid wand can be useful here, helping you handle the lids individually. Turn the bands onto the jars until they're just finger-tight. They should be secure but not overly tight to allow air to escape during canning.
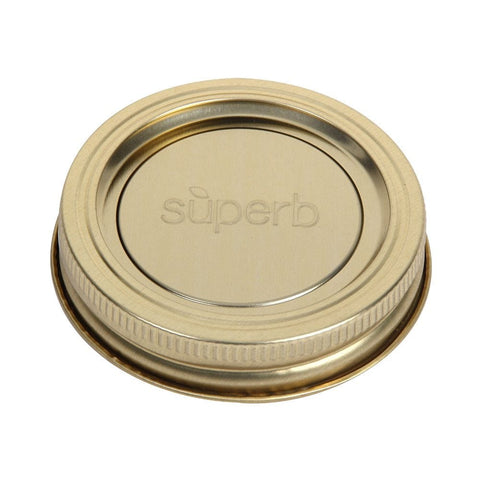
P.S. - We exclusively recommend using Superb Canning Lids for all canning setups. They're the best lids on the market, and they're made in the USA to boot! Check them out here - SHOP CANNING LIDS
Time to Can those Jars!
Use your jar lifter or tongs to carefully lower your filled jars into the boiling water, keep the jars upright in order to prevent your preserves from touching the jar rims. When your water bath canner is full of jars, the water should be at least an inch above the top of the jars; if it's not, add more hot water.
Maintain a 1/2 inch space between the glass jars. We don't want the filled jars to bounce against each other in the boiling water and potentially break. You worked hard for your jams, jellies, and such...don't let it go to waste through breakage!
Crank up the heat until the water reaches a full rolling boil, then cover the pot. Start timing according to your recipe's instructions, only beginning once the water has returned to a full rolling boil after adding the jars of food.
The amount of time you leave the jars in the boiling water will be determined by your recipe and the size of your jars. Pint jars won't take as long to reach boiling point and preserve as quart jars would.
Cooling Down
When the processing time is up, switch off the heat and let the jars settle in the boiling water bath for a while - sometimes your specific recipe will tell you how long to let them settle. During this time, the water will drop below the boiling point

Then, using a jar lifter or tongs, remove the jars from your canning pot and transfer them to a cake cooling rack, towels, or your counter mats, maintaining a 1-inch gap between jars. Avoid placing them directly on counters or in drafty spots to prevent temperature shock and potential breakage. Let them cool undisturbed for 12 to 14 hours. A pinging sound from the lids flexing and sealing is normal as the jars cool.
Testing the Lids and Storing Your Sealed Jars
After the jars have cooled from the hot water bath, press down on the lids. If properly sealed, they will feel solid.
Remove the rings and gently lift the jars from the rim edge to test the seal again. The tension of the lid alone should hold the jar. For any lids that fail, refrigerate the contents and consume them soon. Alternatively, within 24 hours, reprocess the contents with a clean lid and, if needed, a new jar.
Clean your jars with a moist cloth to remove any residue from the canning process, and store them in a cool, dark place for up to a year.
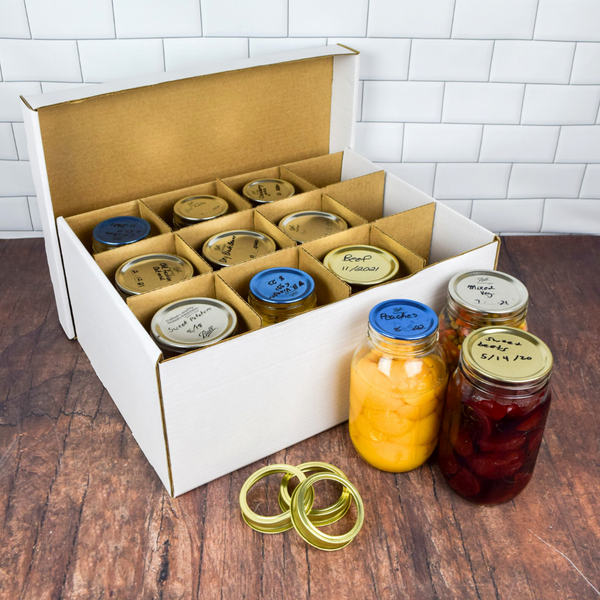
Don't have enough shelf space for all your jams, jellies, and fruit juices? Store your jars safely inside our Canning Jar Boxes!